Building an MCP Server in .NET
While working on an internal Microsoft project, I developed and published an MCP (Model Context Protocol) server for one of the most heavily used internal tools — a service I can’t name, but trust me, it’s a big one.
My goal for building this MCP Server at Microsoft was as part of an internal POC to rethink how we approach certain processes internally. About this, I can’t discuss more but my goal for this article is to showcase how straightforward it is to enable any REST API service for interaction via GitHub Copilot’s AI Agent, which is accessible through the chat panel in Visual Studio Code under the “Agent” tab.
Starting with a .NET MCP Server
To begin, I created a .NET 9.0 command-line application and added the ModelContextProtocol NuGet package. At the time of writing, the latest version available was 0.1.0-preview.4.
using Microsoft.Extensions.Hosting;
using Microsoft.Extensions.DependencyInjection;
using Microsoft.Extensions.Logging;

var builder = Host.CreateApplicationBuilder(args);
builder.Logging.AddConsole(consoleLogOptions =>
{
    // Configure all logs to go to stderr
    consoleLogOptions.LogToStandardErrorThreshold = LogLevel.Trace;
});

builder.Services
    .AddMcpServer()
    .WithStdioServerTransport()
    .WithToolsFromAssembly();

await builder.Build().RunAsync();
Creating the First Tool
The core of the MCP server is the tool definition. Here’s how I defined the first tool. First, you need to create a new file and define a static class in it. You should add the following usings:
using ModelContextProtocol.Server;
using System.ComponentModel;
When you declare your class you provide some descriptive text about what the tool is and how it should be used in the McpServerToolType attribute.
[McpServerToolType, Description("Foo is a tool that allows Microsoft employees to do X internally at Microsoft. Make sure you piece of information A and B is before you execute any commands.")]
public static class FooServiceTool
{

  // Your Tools Go Here

}
The tool that I created was for an internal platform at Microsoft. I can’t share publically what that is so I will anonyimize it. The Description of the tool should be considered a prompt you might give to ChatGPT to tell it how to use the tool, why the tool is used, and what pieces of information are required to gather before the tool can be used properly.
Foo is a tool that allows Microsoft employees to do X internally at Microsoft.Make sure you piece of information A and B is before you execute any commands.
I have yet to fully refine this but even with this basic context, GitHub Copilot was able to work with the tool quite effectively.
One thing to notice is that the class is static. Now to implement our first tool. It’s pretty anti-climatic. Basically we just need a static method that takes in parameters and returns data.
[McpServerTool, Description("Get information about an X registered with Foo")]
public static async Task<XInfo> GetXInfo(string xId)
{
    var client = GetClient();
    var xResponse = await client.GetXAsync(xId);
    return xResponse;
}
The McpServerTool attribute annotates the static method with another prompt that is used by the AI Agent to determine when this particular tool is appropriate to be used. Like the McpServerToolType the more context and instruction in here the better. This is a simple scenario so my description didn’t have to be that complex. It was one of the first tools I implemented just to test out the MCP Server to see if I could do some basic read operations against the platform’s control plane. It worked.
Reverse Engineering the Client
My MCP Server uses the REST API of an internal system at Microsoft. One I will not name for fear the CELA Gods will frown upon me. However, it is a very popular one. This service has its own REST API, it’s own PowerShell cmdlets and its own Bash CLI tool that is developed by the team that maintains it. Like the Azure CLI and Azure PowerShell cmdlets these components are really just client tools that consume the REST API of the service itself. My MCP Server is yet another client tool, an alternative way of interacting with the REST API through natural language interface and an AI Agent.
In order to get my MCP Server to talk to the REST API I had to reverse engineer my own C# client library since there was no swagger or Open API specification for me to generate the client library from. There might be but I didn’t know about it.
Luckily, the REST API allows me to use the Azure CLI as a client to obtain a bearer token which can be used to authenticate.
az account get-access-token \
  --resource https://test.foo.msft.net \
  --tenant $MY_TENANT_ID \
  --query 'accessToken' \
  --output tsv
With this token, the MCP server could securely interact with the service. I was able to develop the client library as a C# class library project and an XUnit project to write unit tests no different than any other such solution.
Containerizing the MCP Server
In order to run my MCP server I build a docker image.
# Build stage using .NET 9 SDK
FROM mcr.microsoft.com/dotnet/sdk:9.0 AS build
WORKDIR /src

# Copy everything into the container
COPY . .

# Restore and publish the main project
RUN dotnet restore Foo.McpServer/Foo.McpServer.csproj
RUN dotnet publish Foo.McpServer/Foo.McpServer.csproj -c Release -o /app

# Runtime stage using .NET 9 runtime
FROM mcr.microsoft.com/dotnet/sdk:9.0
WORKDIR /app
COPY --from=build /app ./
ENTRYPOINT ["dotnet", "Foo.McpServer.dll"]
I placed this Dockerfile in the root directory of my codebase next to my *.sln file. To build the docker image you simply run this command:
docker build -t foo-mcp-server .
Now to setup the MCP server.
Integrating with VS Code
To set up the server in Visual Studio Code:
- Open VS Code Settings
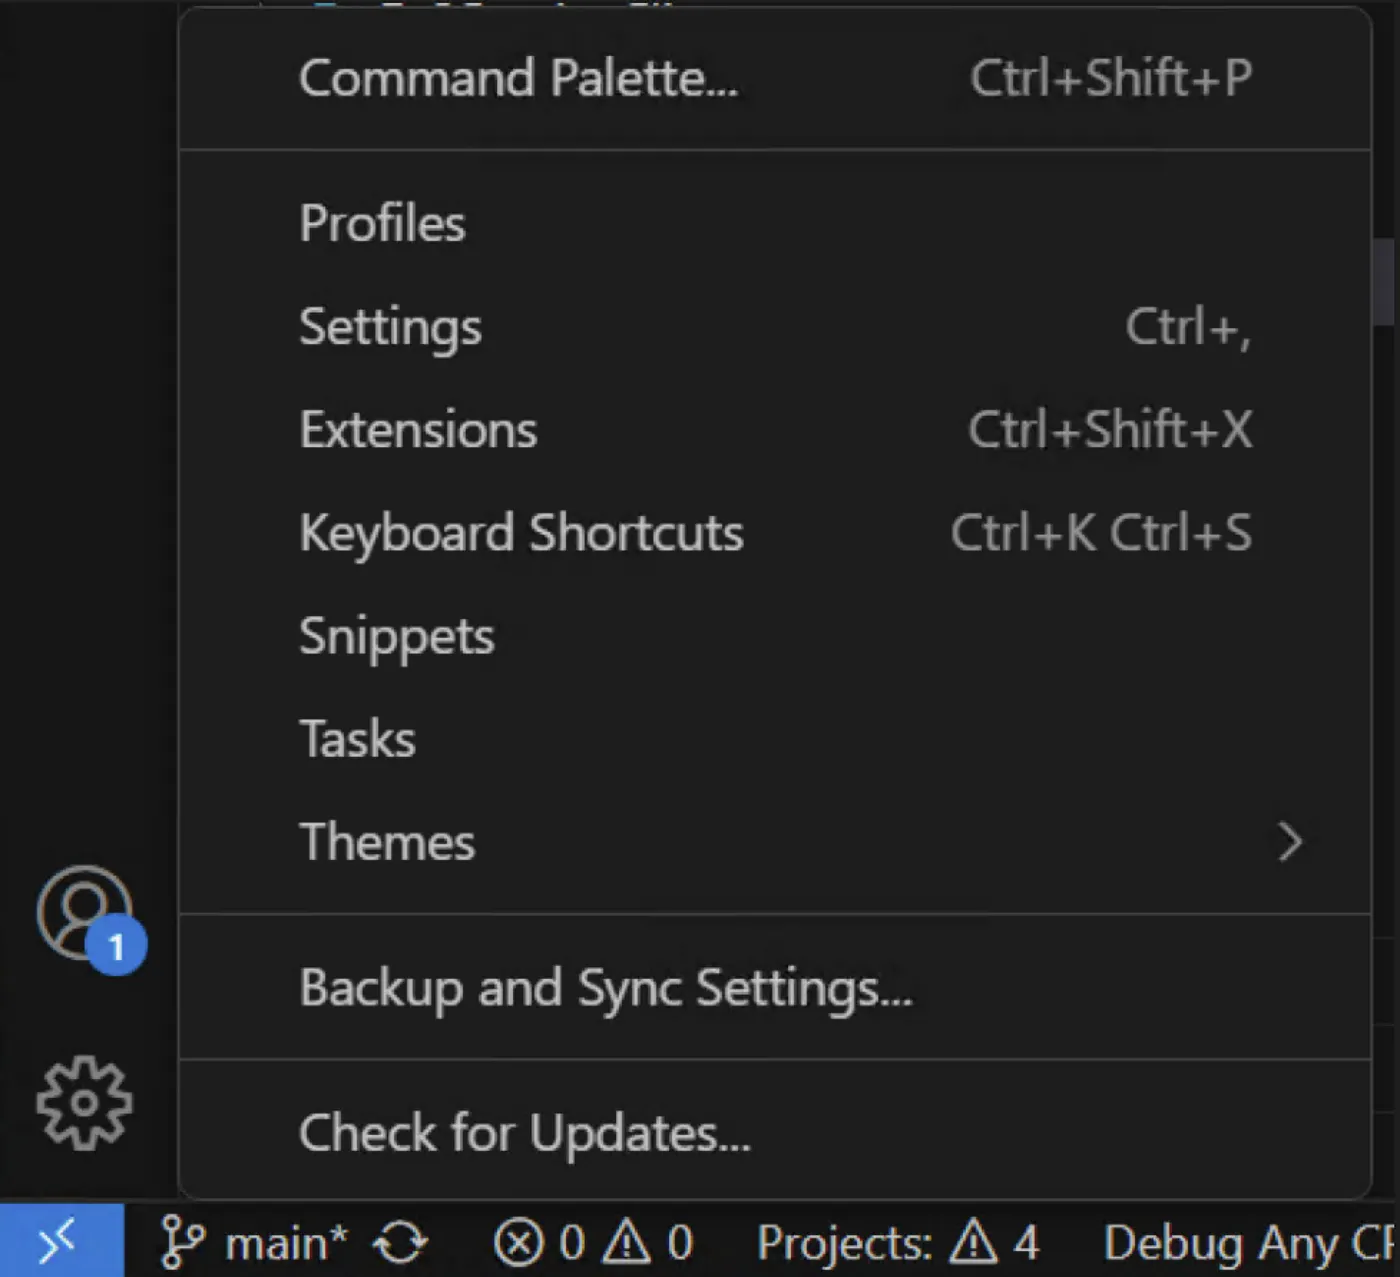
- Search for
mcp
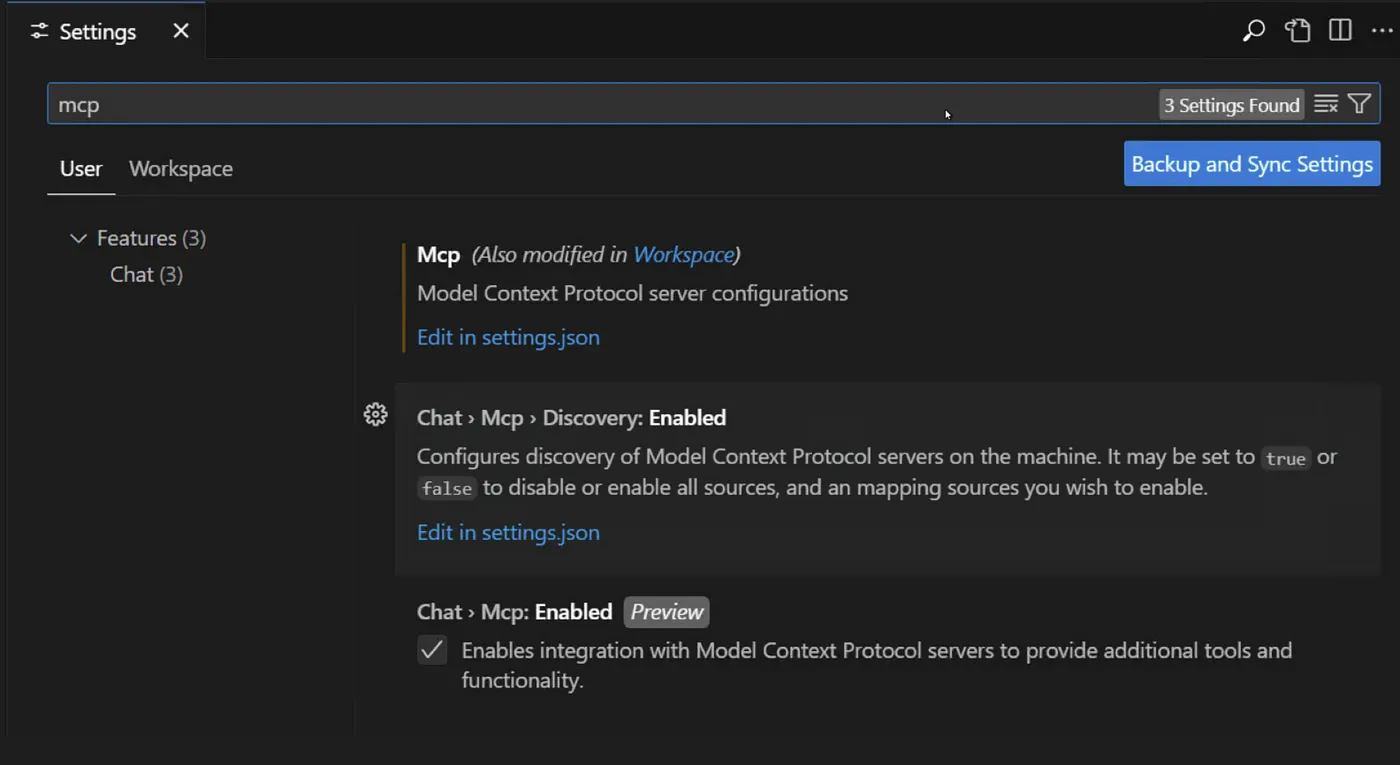
-
Click
Edit in settings.json{ “git.enableSmartCommit”: true, “editor.formatOnSave”: true, “editor.wordWrap”: “on”, “mcp”: { “inputs”: [], “servers”: {*** SERVER DEFINITIONS GO HERE *** } } } -
Add the following MCP Server Definition
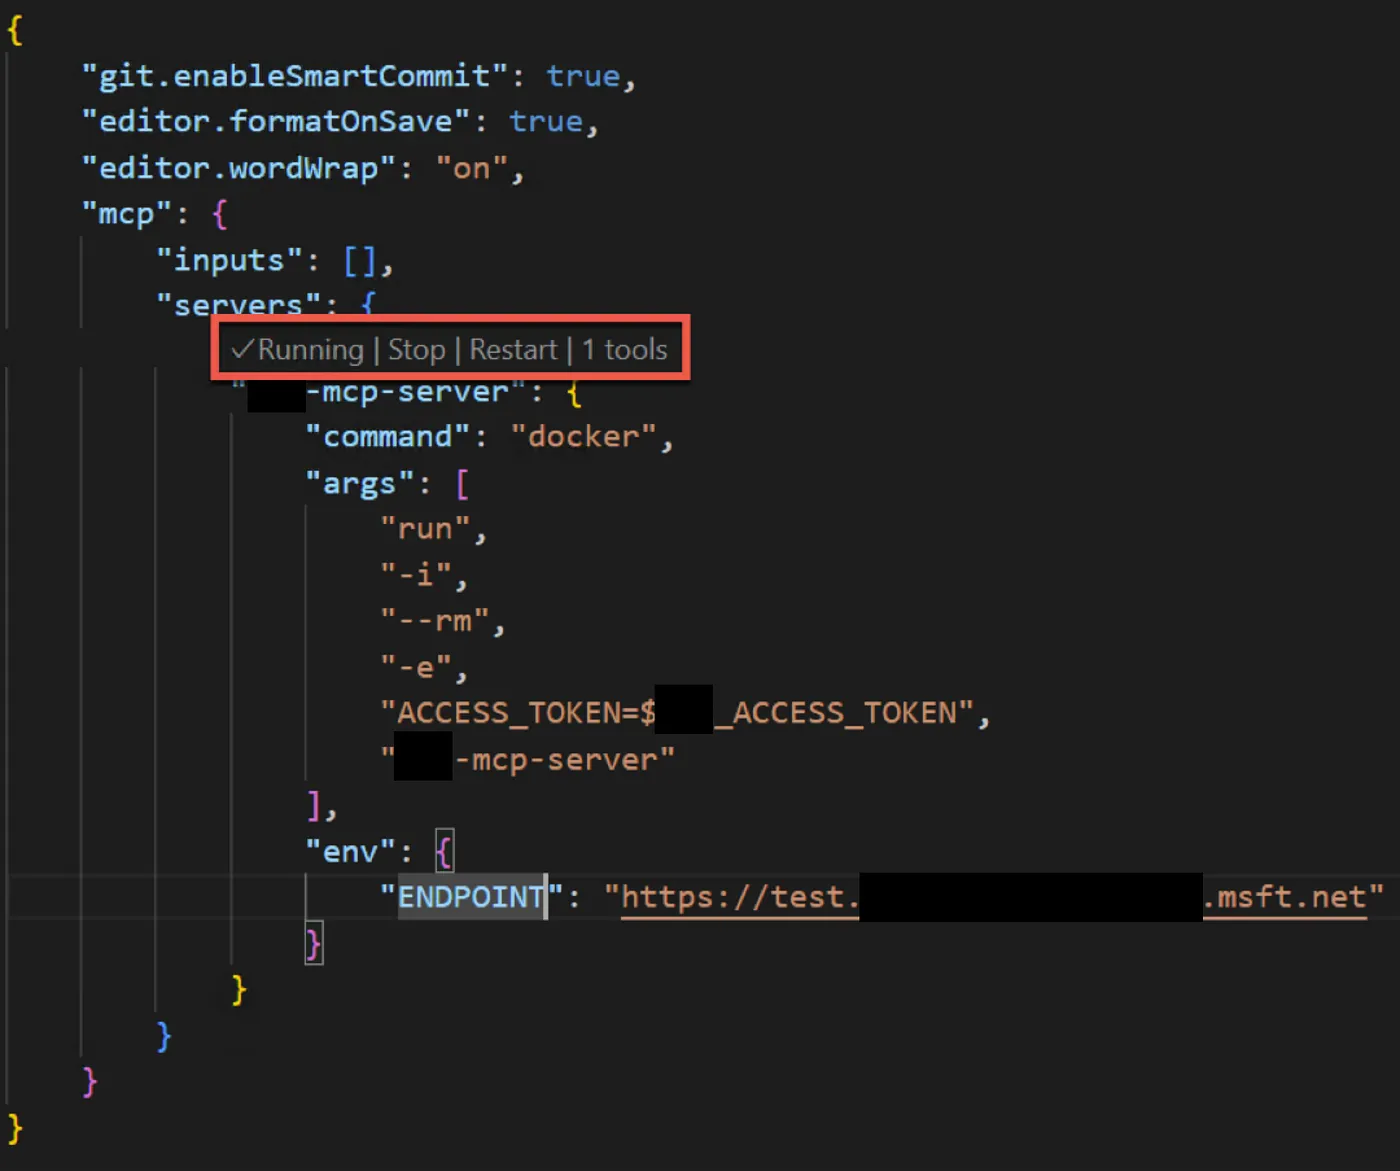
This environment variable’s value is then injected into the container so that the MCP server can use it to talk to the service using your credentials.
Sometimes you will want to make updates to the MCP Server’s code. You’ll need to build a new image and then use the MCP Server lifecycle controls built within VS Code to restart the MCP server so that it pulls the latest version of the image.
Debugging and Testing Tools
When doing my testing, the service I was talking to required authentication and I had to pipe in the Authentication Token and Endpoint using environment variables. I definitely need to look into a better way of doing this because this is not a sustainable practice. It works on my development machine but it does not work if I want to make this MCP server more generally available to Microsoft employees.
To test environment variable injection, I used a simple echo tool:
[McpServerTool, Description("Test ENV")]
public static string EchoEnv()
{
    var endpoint = Environment.GetEnvironmentVariable("ENDPOINT") ?? "(null)";
    var token = Environment.GetEnvironmentVariable("ACCESS_TOKEN") ?? "(null)";

    return $"ENDPOINT: {endpoint}, ACCESS_TOKEN: {token}";
}
Conclusion
Building an MCP server with .NET is surprisingly approachable. With just a REST API and a bit of C# tooling, it’s possible to expose services to AI Agents via GitHub Copilot, enabling new interfaces for internal tools.
While there’s room to improve areas like authentication and distribution, the basic setup proves that integrating traditional services into modern development environments is both powerful and practical.